Creating engaging video content in the modern world is essential. Whether you need a clip for a birthday or wedding, a college presentation, or a marketing campaign. But standard videos are already not enough, so content creators need to develop new approaches and techniques. One of them is adding pictures to the clips, making them more engaging, informative, and interesting.
In this article, we share 3 popular tools and several viable tips on adding a picture to a video even without previous experience. Take your video editing skills to a brand-new level!
Table of Contents
Add PIctures to videos with these simple tools
Although the editing process is rather standard, the steps may vary depending on the operating system you are using.
Below, let us discuss how to add a picture to a video using the three most common instruments – Movavi Video Editor, iMovie, and Windows Movie Maker.
1. Movavi Video Editor
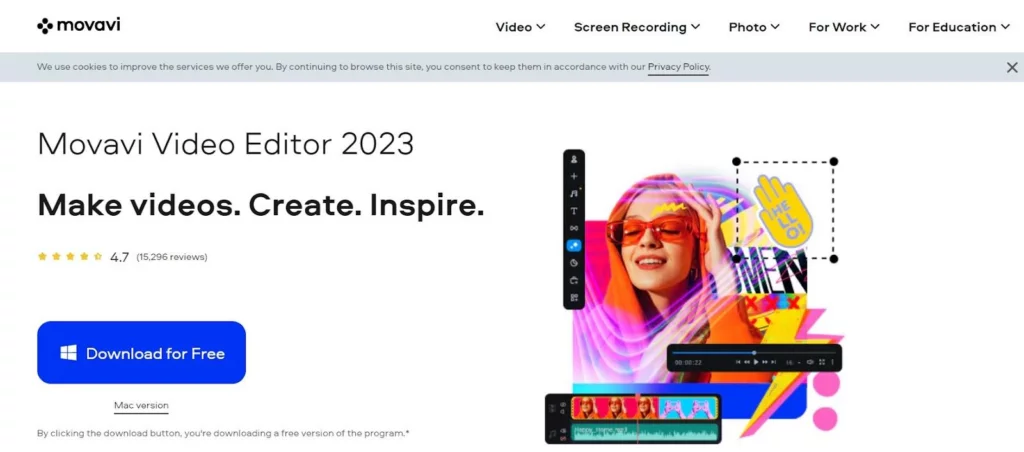
If you want to add a picture to a video without any fuss, we recommend Movavi Video Editor. You can download it for Windows and Mac, and create professional and good-looking clips even without prior experience. There are only a few steps between you and a great video:
- Download Movavi Video Editor on the official website. Keep in mind that there are two different versions – for Windows and Mac.
- Upload the media you want to merge by pressing Add Files. Your photos and videos will appear in the Media Bin.
- Drag and drop the files onto the Timeline at the bottom of the screen.
- Place a photo on top of the video clip by dragging it to the above position.
- In the preview screen, you will see the picture covering a part of the background file. To alter its position, open the menu on top of the preview screen and choose one of the available options: picture in picture, cover, or side by side. You can move the file by dragging and rotating it.
- Add animation if needed. To make the clip even better, you can add motion by selecting the video in the Timeline and choosing Add Animation in the Animation menu. Movavi Video Editor also allows adding keyframes.
- Save your video by pressing the Export button and choosing the destination folder. Don’t forget to pick a suitable video format depending on where it will be then watched.
2. iMovie
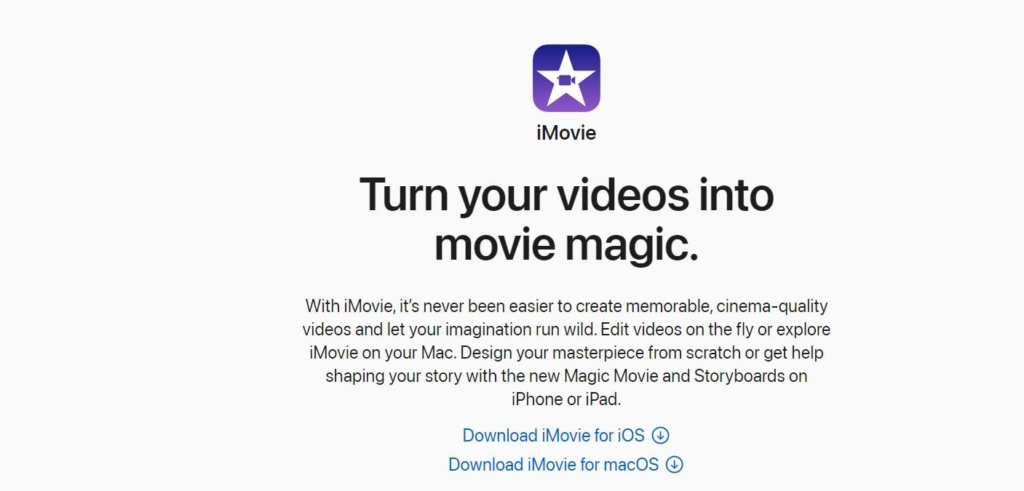
iMovie is a good video editor for Mac users. It has rich functionality and convenient navigation, so you can create masterpieces that are not inferior to AI-generated clips. With the help of iMovie, you can not only edit clips but also place images on them. Here is a step-by-step guide:
- Create a new project by launching iMovie on your Mac and pressing the + icon on the left of the screen. Pick a template or proceed without a theme.
- Import pictures you are going to use in the project. You can add the files through the My Media tab or by dragging and dropping the files manually. If you store pictures in the Photos library, iMovie will upload them automatically thanks to Mac’s integration.
- Import video clips the same way you did with pictures.
- Drag and drop the image to the timeline and place it over the video. If everything’s done right, a small connection bar should appear between the picture and the video.
- Choose the picture-in-picture mode by pressing the overlay icon in the tools bar. With the Cutaway feature, you can reduce the picture’s size, and it won’t cover up the whole video.
- Export or share the file through social media platforms or messaging apps. We recommend choosing the MP4 format as it is compatible with most media devices and platforms.
3. Movie Maker
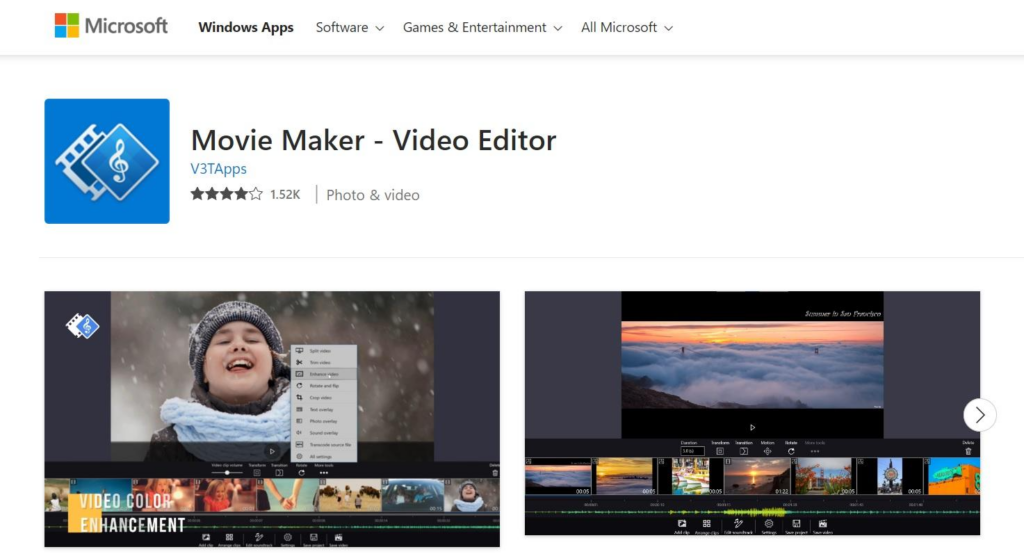
Want to create good-looking and unique content on Windows OS? Add image to video using Movie Maker, which is usually preinstalled on Windows devices as a part of the media suite.
Its biggest advantage is a simple and understandable interface, so beginners and seekers of fast results will make a nice clip in a matter of minutes. Here is how to insert a picture in a video and ensure smooth transitions:
- Open Movie Maker and press Import Video in the main menu. Then choose Import Pictures to paste images into your new project.
- Move the files to the timeline by selecting and dragging them to a corresponding window at the bottom of the screen.
- Insert a picture into the clip by using the Split feature in the preview window. After placing the image in the right place, hit View Video Transitions to add effects and make junctions smoother.
- Add audio files if you want to make the video more immersive. To do so, you should export the track separately. Then split the video into parts and adjust the playback duration for each element. Finally, insert the audio track on top of the video for synchronization.
- Save the project. Choose File and then press Save Movie File. Press Next, and choose a file name and preferred folder. Hit Next again to finalize the export.
Despite quite a limited functionality and lack of support and updates, it can be an alternative to YouTube and TikTok video editors that take days to master. If you have Windows 10 and newer, instead of Movie Maker, search for Microsoft Photos App which has a separate Video Editor mode.
How to make your videos even better
The programs we discussed are easy to use and offer great results not depending on your expertise. But if you want to take your skills to a new level, try the following techniques:
- Add a conversation image to the video. There are many situations when you might need to add a conversation screenshot: tutorial videos with Q&As, birthday greetings, and so on. They will provide extra information and make the clip more live and personal.
- Dilute the clip with emojis. These bright pictograms aim to add emotions to text messages, but they can also make your videos more vibrant and colorful.
- Personalize videos with logos. Clips on YouTube, TikTok, Facebook, or your own website will become more professional and recognizable if they include branded logos.
- Add frames. Find transparent PNG images and frame your video with them. This rather unusual tip will surely help your video stand out, but don’t overdo it with colors and textures.
Remember that content success depends not only on using digital marketing tips but on mastering and improving your skills. Luckily, there are lots of free guidelines on the Internet.
Conclusion
Some may think that pictures and videos are completely different types of files. But they can do magic when combined and become one of the best content marketing tools you can wish for.
With the help of Movavi Video Editor, iMovie, and Windows Movie Maker discussed above, you will easily make photos into videos and create content everyone will envy. If you have any questions left, don’t hesitate to ask us.
If you liked this article, then please subscribe to our YouTube Channel for videos relating to this article. You can also find us on Twitter and Facebook.
